
Online events have soared this past month as we’ve been forced into lockdown. The working world as we know it is changing daily and we are all finding ourselves dialling into virtual meeting rooms to attend team chats, events, workshops and meetings with our networks.
Whilst online events have always been around, they are now more popular than ever as we are all adapting to a new way of running our businesses virtually.
We want to keep servicing our clients, providing value and doing our bit to not only keep our business running but to keep the economy running too.
I work with one client in particular whose business model is based on a membership subscription. Businesses join as they want help and support with growing their own businesses and within the membership we host regular networking events, workshops and strategy days.
Since we’ve had to cancel most of our events we’ve been looking at ways to make sure we can still service the membership clients to ensure they are still getting value, help and support.
I have therefore been helping my client to set up a series of online Business Leader’s Support Forums using Zoom and Eventbrite.
This is a great way to continue offering a service whilst ensuring businesses are feeling supported during a troubling time.
If you have been thinking of running an online event but don’t know where to start then this blog is going to help you do just that.
1 | Getting started
Decide the outline of your event and how you want to set it out. Things to consider:
- Who is hosting?
- How many people will be attending? For intimate events where you’ll be engaging with your audience and asking questions, I would recommend no more than 10 people.
- Will you be sharing a presentation?
- Do you have an agenda?
- Duration of event.
2 | Set up Zoom
Zoom is a great tool for hosting a successful online event. However, if you are looking to host an online event with over 3 people and for more than 40 minutes you will need to pay for the pro version which works out at around £14 a month.
If you plan to show a presentation during your event, Zoom is a great tool as you can share your screen.
2.1 | Schedule a meeting
Once you have decided the date, time and duration of your event you can schedule this on Zoom. On your zoom page click on “Schedule a Meeting” (top right) – see image below.

Add all the details for the meeting: topic, time, date, duration.
I always choose the following options:
Meeting ID – Personal Meeting ID xxx-xxx-xxxx
Meeting Password – this is now a requirement as Zoom have tightened up their data. Note – you will need to make a note of the password for your attendees later on (step 2.2)
Video – host and participant. Decide whether you want the video to be enabled for you and your participants once they’ve dialled in. I would always recommend the host’s video is on. If participants do not want to be on camera they can always turn their video off.
Audio – both
Meeting Options – the only option I select here is “Mute participants upon entry”.
Click Save.
2.2 | Meeting Details
To access your meeting details in Zoom, click on “Meetings” and “Upcoming Meetings” and you will see them listed.

If you click into one of the meetings you can then add the details into your calendar or, you can “Copy the invitation” (to right hand side of “Join URL”). This will bring up the screen below where you can “Copy Meeting Invitation” straight into your calendar.

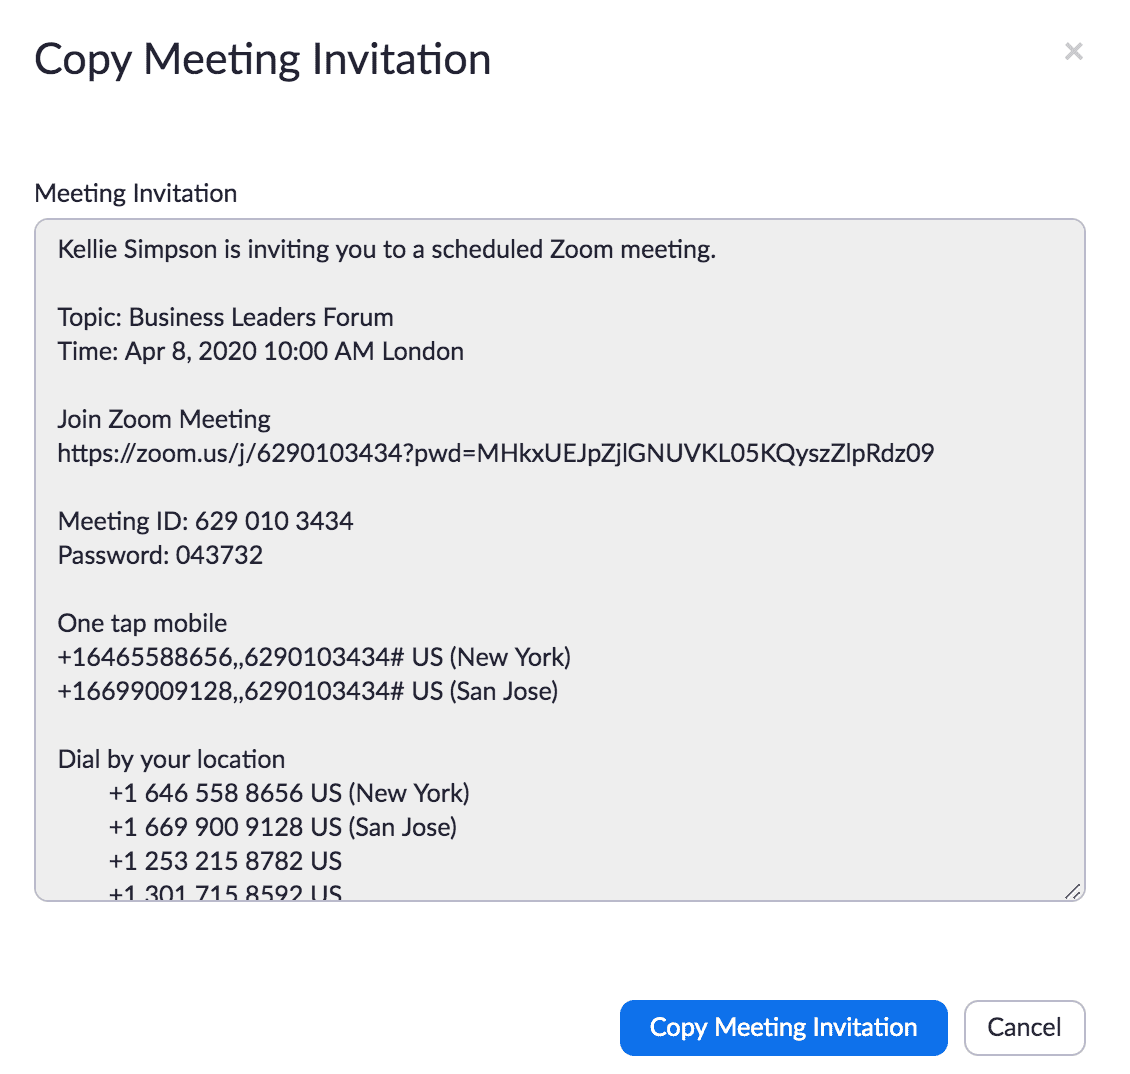
This information will be needed for your attendees so that they can access your online event. We will be using this information later at step 3.1.
3 | Create an event on Eventbrite
Eventbrite is an amazing tool for managing events. Once you have created your event on Eventbrite, you simply share via social media or email out to your clients/network.
Attendees simply register by filling in a form and in return you can download an excel sheet which will list all the people who have signed up for your event.
Firstly you will need to create an Eventbrite account. Once you’re in you simply create a new event and follow the steps below.
3.1 | Step 1 – create your event
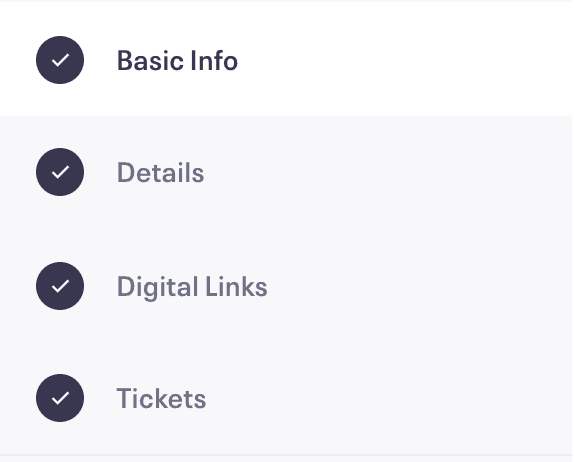
Basic Info > Location > Date and Time
Details > Description. Add a short summary and in the main box add your agenda and outline plus joining instructions e.g. a separate email will follow with Zoom details.
Digital Links > here you can create a separate landing page to house the digital links for this online event. This is the perfect place to add your Zoom links. You will need to Add Text to get the box below. Remember the meeting details at step 2.2 above? This is where you copy and paste those details.
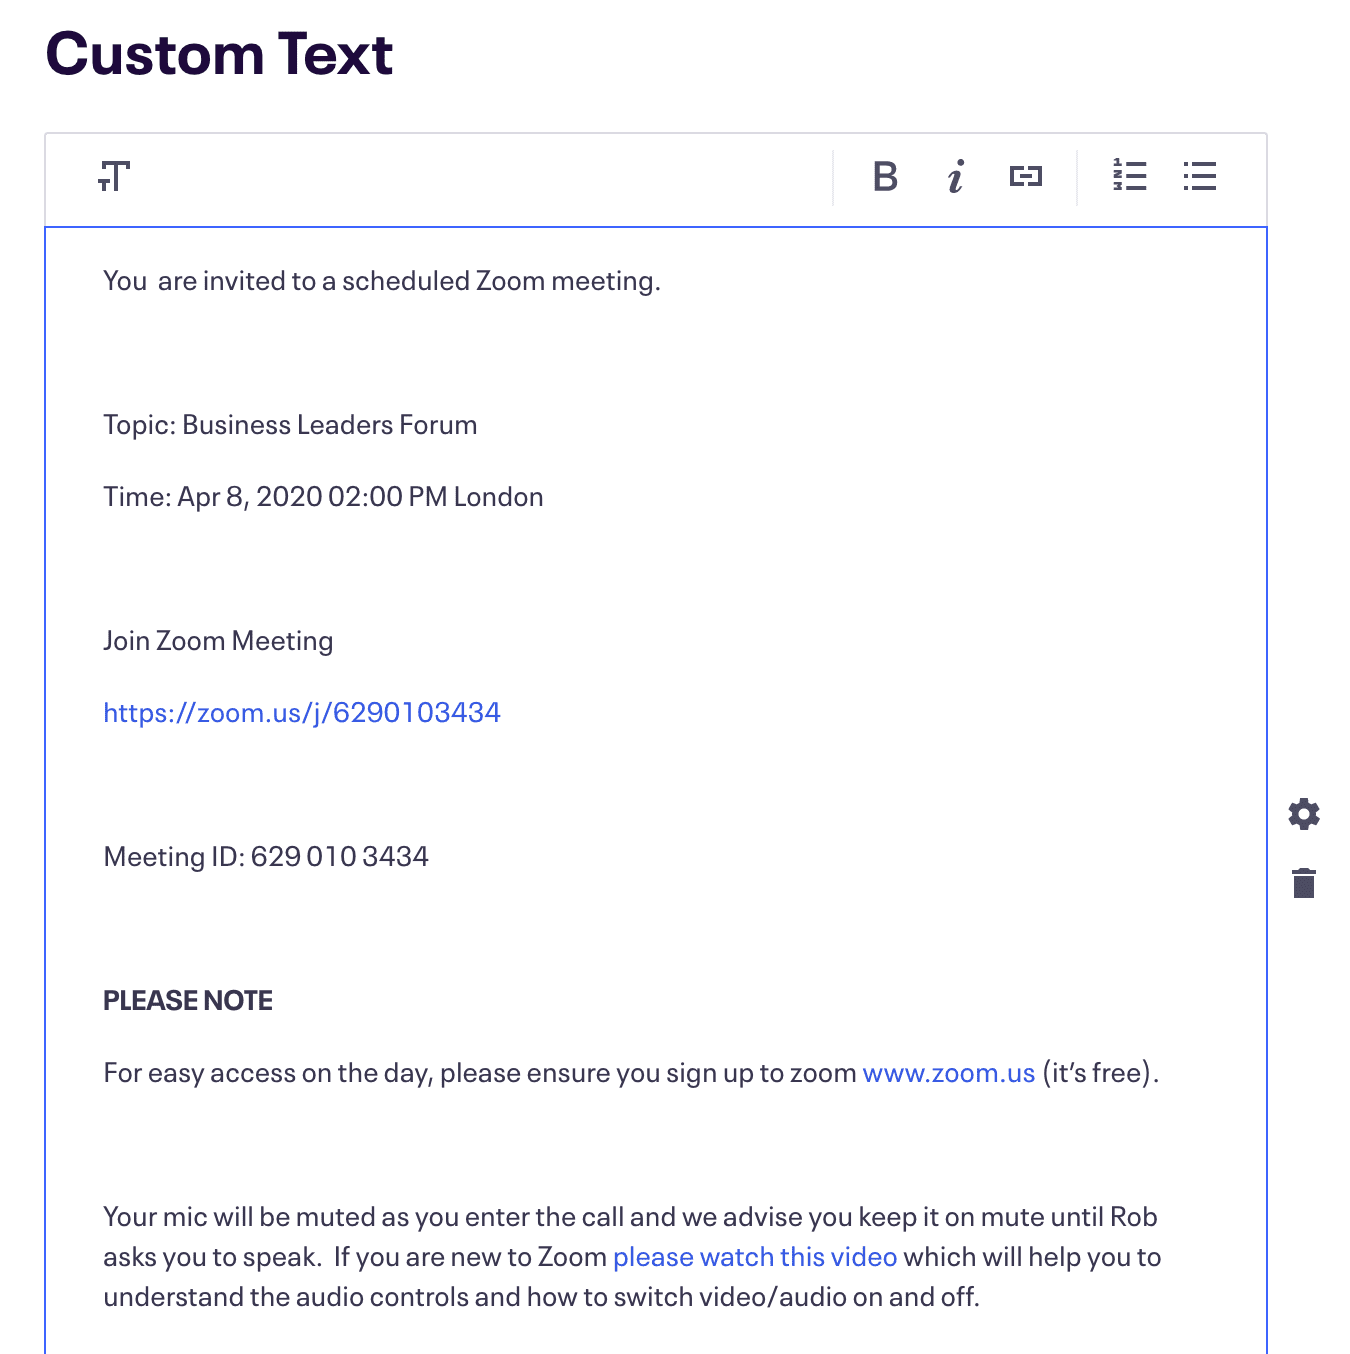
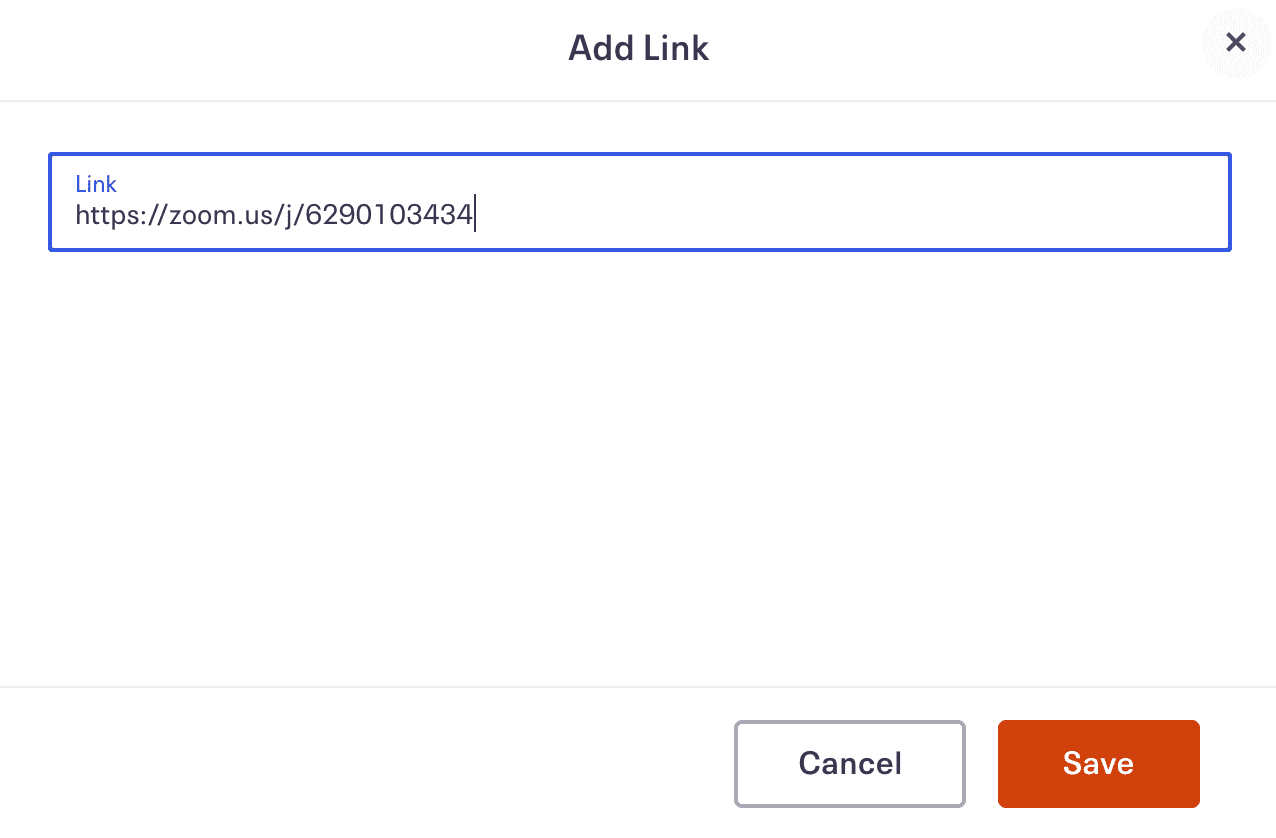
To ensure you’re attendees can access the Zoom link you will need to activate this link using the link button below (the rectangle with a dash in the middle, next to the i. In this box, paste the Zoom meeting link (below in blue – https://zoom.us/j/6290103434).
Tickets > make sure you add the quantity of tickets available (e.g. how many people you want on the event). Within this step you can specify whether you want your tickets to be Paid or Free, depending on the event you are organising.
3.2 | Step 2 – Privacy settings
If your online event is private for a select number of attendees only then make sure you set the privacy settings to Private, otherwise it will be public. You can access this from the menu down the left hand side of your screen.
3.3 | Step 3 – Publish event and make it live
You are now ready to publish your event and make it live. You can view your event, copy and paste the link and send this out to your network via LinkedIn or email.
Once an attendee registers for your online event they will receive a confirmation email with a link to an online page with the Zoom sign in details that you completed at step 3.1 above.
4 | Email attendees
As mentioned above your attendees will receive the Zoom sign in via Eventbrite, but I always send out an email the day before with the following details:
- Zoom link
- Zoom ID
- Password (this is now needed and can be found in your scheduled meeting details in Zoom). Without this password (6 digit code), your attendees will not be able to enter your online event.
- Instructions on enabling / disabling the mic / video (I always send this short video).
- Agenda – a reminder of the outline for the event.
5 | On the day of your event
On the day of your event, log into Zoom, head to Meetings > Upcoming Meetings and simply click start. I would always advise signing into the meeting at least 10 minutes before so you are ready and waiting for your guests to arrive.
Online events are not hard to arrange and I would always recommend starting with small numbers to get used to the format. It might be a good idea to play around with Zoom with colleagues or friends to familiarise yourself with the platform. There are also a lot of useful videos on Zoom’s website. Good luck!
And of course, I am more than happy to assist you in running your next successful online event using Eventbrite and Zoom. Any questions about either platform, please do not hesitate to get in touch here.
Kellie x